Rules to follow when fitting a tail bandage:
Important: Before leaving a tail bandage on for any length of time, your technique must be correct. Fitting it incorrectly could cause extreme damage to the horse's dock.
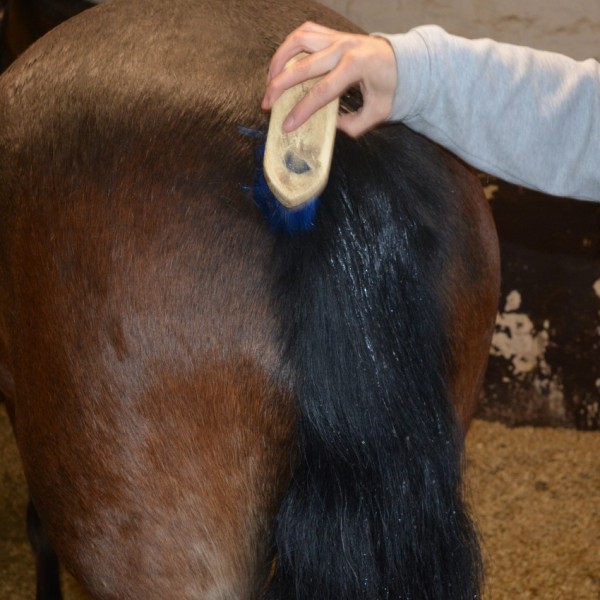
Before applying a tail bandage always check the horse is comfortable with the procedure before beginning. This can be done by lifting the tail up and down. If there is a possibility they could kick out, place a small bale of straw between you and the equine’s hind legs.
Stand directly behind the horse, and dampen down the top of the tail with water. This will provide grip for applying the tail bandage.
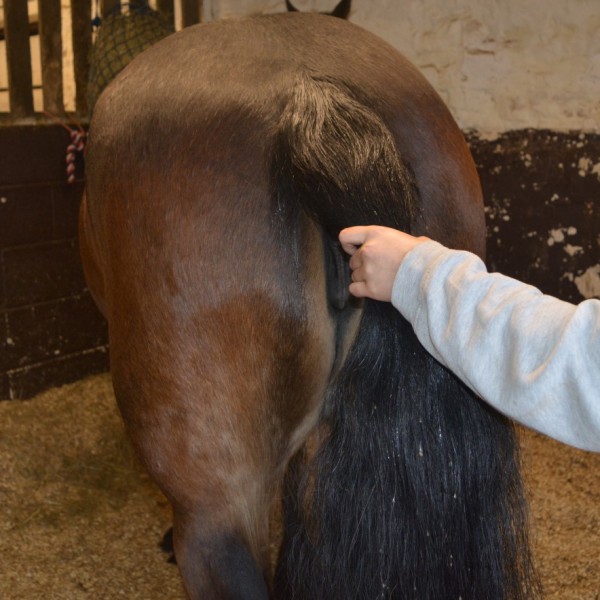
Lift up the horse’s tail (if they clamp it down, stroke their hindquarters, whilst gently lifting the dock up and down until they relax).
Some people find it helpful to place the tail over their shoulder, especially whilst learning how to put the tail bandage on.
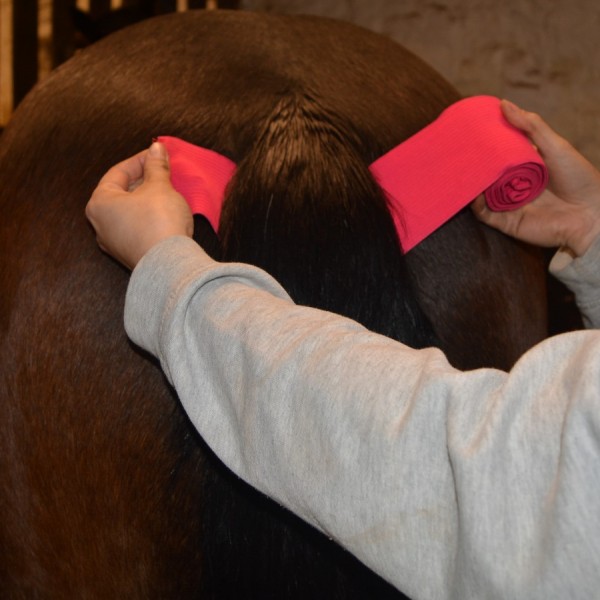
Un-roll a small section of bandage, slide it upwards on the under side of the tail until you reach the top.
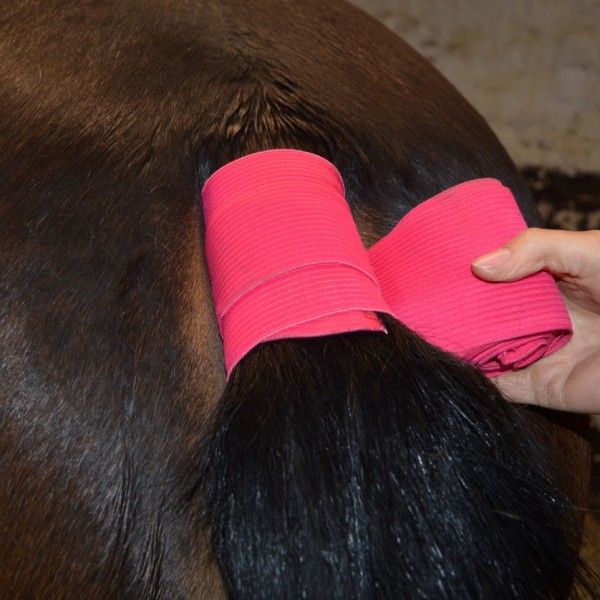
Begin wrapping the bandage around the tail at the correct tension.
If the first wrap doesn’t quite cover the very top of the tail, add another wrap in an upward direction to cover that area.
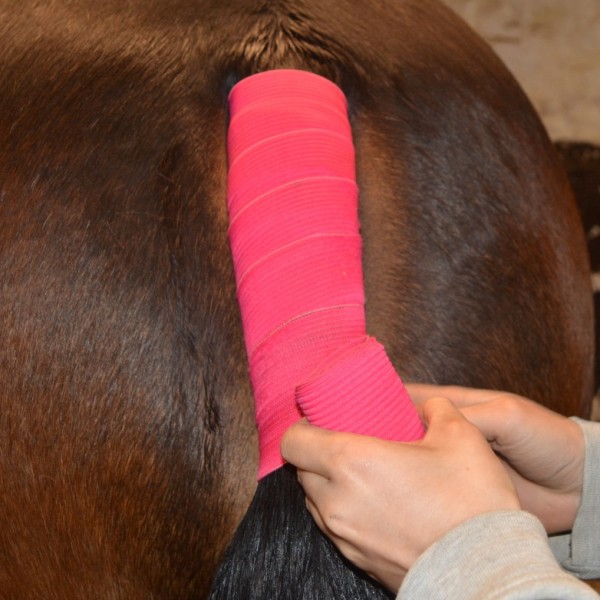
Wrap the bandage downwards overlapping half of the previously wrapped part of the bandage (there will be an indentation on the bandage to follow).
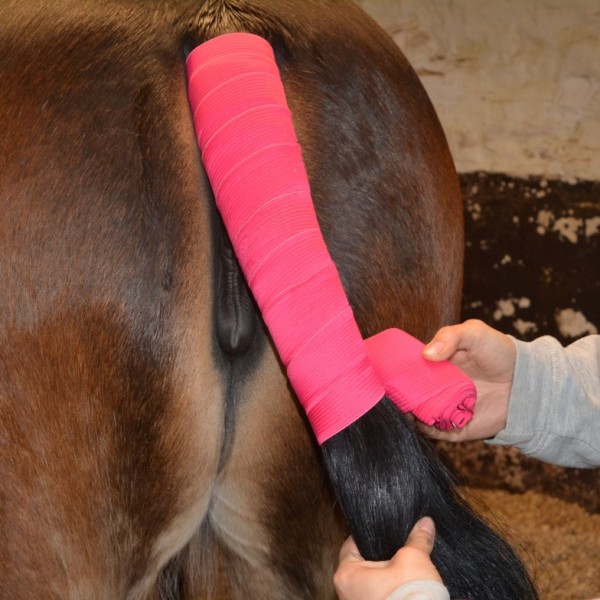
Continue bandaging in a downward motion, at exactly the same tension. Stop bandaging just above the end of the dock.

Once you reach just above the end of the dock area, make an upside down ‘V’ at the bottom of the bandage.
Begin wrapping the bandage upwards, maintaining the same tension.

Wrap the bandage up the tail, maintaining the correct tension.

Once you reach the end of the bandage, unravel the tapes or prepare the Velcro to be fastened.

Fasten the Velcro securely at exactly the same tension as the bandage.
If the bandage has tape fastenings they must be tied, at the side of the dock, in a bow at the same tension as the bandage. This prevents the bow rubbing against the horse’s tail, especially whilst being travelled.
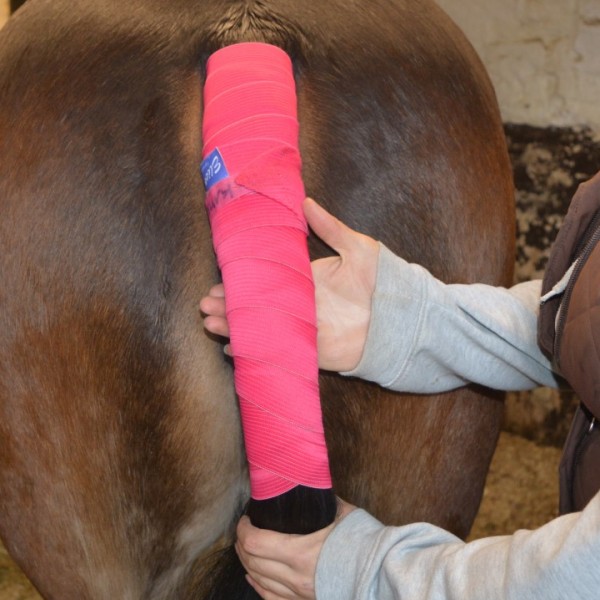
Put your hand underneath the middle of the dock and slightly bend it. This puts the tail back to its natural shape.